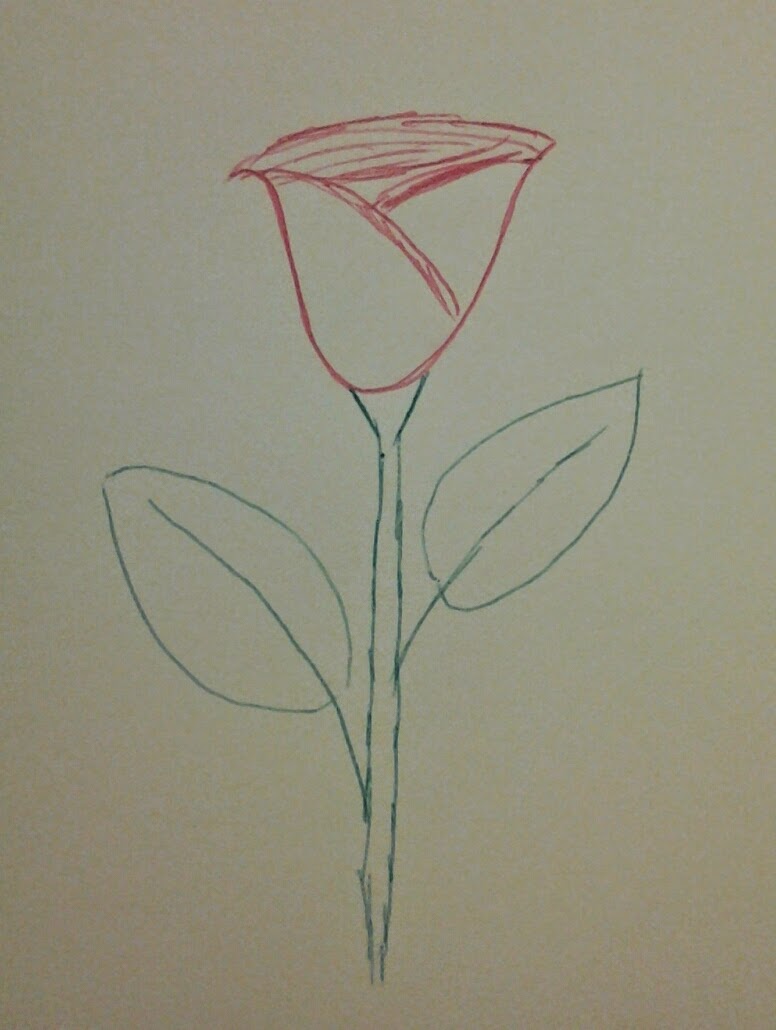
It's time for my weekly update on my flower-a-day project. Don't for get that you can see all of my flower projects and more on my Facebook page here.
Here is my favorite thing I've made this week. It's a rubber stamped card that I colored with watercolors.
It's kind of plain and I will probably add Happy Birthday or Thank You depending on who I decide to send it to.
And here is my Documented Life Project page for week three. It isn't what I started out meaning to do, but I like it. The
quote says "Color has taken possession of me; no longer do I have to
chase after it. I know that it has hold of me forever... Color and I are
one. I am a painter." - Paul Klee
Monday, January 26, 2015
Tuesday, January 20, 2015
Weekly Update
Well, this last week has gone by pretty fast! I feel like I was out running errands all week. But I did manage to get some crafting done.
Flowerpocalypse Update: Still going strong! Don't forget to visit my Facebook page to see all of my daily flower projects. My favorite for the week is this purple gerbera daisy designed by Lia Griffith. You can get the instructions and templates by clicking here. Over the rest of the year, I think I might make a bunch of these in all sorts of colors. But then again,she has so many other flower tutorials I want to do. I have 346 days left so I can probably do them all!
In other crafty news: I've recently become obsessed with Perler Beads. If you aren't familiar with them, basically, you put them on a peg board in whatever pattern or picture you want, and iron them to melt the beads and fuse them together. I've seen some really elaborate works of art on Pinterest. I haven't really got the ironing part down yet - how much to melt them or whatever, but ironing has never been my strong suit. Here are my first tries:
Aren't they cute? I have a ton more ideas, but each one of those beads are placed by hand so it can take a while.
I'm also doing the Documented Life Project again this year. This isn't a great picture, but here's this week's page:
It looks like I put the magazine cut out at an odd angle, but she was just standing funny in the picture, I think.
Flowerpocalypse Update: Still going strong! Don't forget to visit my Facebook page to see all of my daily flower projects. My favorite for the week is this purple gerbera daisy designed by Lia Griffith. You can get the instructions and templates by clicking here. Over the rest of the year, I think I might make a bunch of these in all sorts of colors. But then again,she has so many other flower tutorials I want to do. I have 346 days left so I can probably do them all!
In other crafty news: I've recently become obsessed with Perler Beads. If you aren't familiar with them, basically, you put them on a peg board in whatever pattern or picture you want, and iron them to melt the beads and fuse them together. I've seen some really elaborate works of art on Pinterest. I haven't really got the ironing part down yet - how much to melt them or whatever, but ironing has never been my strong suit. Here are my first tries:
Aren't they cute? I have a ton more ideas, but each one of those beads are placed by hand so it can take a while.
I'm also doing the Documented Life Project again this year. This isn't a great picture, but here's this week's page:
It looks like I put the magazine cut out at an odd angle, but she was just standing funny in the picture, I think.
Monday, January 12, 2015
Flowerpocalypse Update
I just wanted to give a little update on my flower a day project. I won't be posting every day's project here - if you want to see them all, check out my Facebook page. But I will be posting my favorites each week. (That's the plan, anyway!)
This card is my favorite flower project from last week. It's a stamped image that I watercolored and made into a greeting card. It's fairly simple, but I like it.
Thursday, January 1, 2015
Flowerpocalypse 1/365
Happy New Year! In 2015, I'm doing a project where I'll be making something every day that is or has a flower. This might be a 3-D paper flower, a rubber stamped flower on a card, a painting, a doodle, or anything else I come up with! I've been thinking of it as flowerpocalypse, but it's probably better to call it flower a day or something like that.
I probably won't post to this blog every day- maybe only once a week, but I do plan to post to my Facebook page every day. Click here to visit my Facebook page.
Here is my first flower of the year! It's a paper flower. I've been making these for years, so I don't remember where I originally got the instructions. There are similar tutorials all over the internet if you want to make your own. The paper is the inside of an envelope from a Christmas card I received, and I thought it was too pretty to just throw away. I've made stems for this type of flower before, but this one is just the flower.
I probably won't post to this blog every day- maybe only once a week, but I do plan to post to my Facebook page every day. Click here to visit my Facebook page.
Here is my first flower of the year! It's a paper flower. I've been making these for years, so I don't remember where I originally got the instructions. There are similar tutorials all over the internet if you want to make your own. The paper is the inside of an envelope from a Christmas card I received, and I thought it was too pretty to just throw away. I've made stems for this type of flower before, but this one is just the flower.
Sunday, December 7, 2014
Christmas Cards!
I just realized that I forgot to post a picture of my finished Christmas card. I showed an in-progress shot here, But now they are all done and sent out. I didn't make as many as I normally would have because I've been sick and I just didn't feel up to it.
Each card was slightly different - I used different washi tapes (and other decorative tapes) in different configurations and there were different ribbons used. And after I ran out of ribbon, the last few used washi tape instead. But they're all the same basic idea.
I like how they turned out and I'm really pleased that I made them all with supplies I had on hand. Not that I'm against buying more supplies (just ask my husband!) but I do have a ton of art and craft supplies and very little storage space. For several years, I've been using as much of my stash as I can and I still have so much more to use! Which, when you think about it, is a good problem to have, especially since I don't always have a lot of money to spend.
Each card was slightly different - I used different washi tapes (and other decorative tapes) in different configurations and there were different ribbons used. And after I ran out of ribbon, the last few used washi tape instead. But they're all the same basic idea.
I like how they turned out and I'm really pleased that I made them all with supplies I had on hand. Not that I'm against buying more supplies (just ask my husband!) but I do have a ton of art and craft supplies and very little storage space. For several years, I've been using as much of my stash as I can and I still have so much more to use! Which, when you think about it, is a good problem to have, especially since I don't always have a lot of money to spend.
Sunday, November 30, 2014
AEDM #30
While I've enjoyed Art Every Day Month, I'm so glad that today is the last day. I've got a horrible cold and just really haven't felt well this past week.
Today, I finished the bulletin board that I was working on earlier in the week. The tree is made up of hands which each has a name of someone who attended Sunday School. There's also red and silver glitter where the fingernails would be, The ornaments around the tree are from a website called Bible Story Printables -click here to go there. They have the names of Jesus on them. I printed them at half size. They were originally going on the tree, but that would have left big open spaces to either side of the tree, so I went with this. I may end up doing one more row of hands for the bottom row for anyone who didn't attend this week (and because I don't like the blank space at the bottom). Or I may just put a brown trunk at the bottom if there's no new names that need to go on there.
Saturday, November 29, 2014
AEDM #29
It may not look like much at the moment, but I've been working on my Christmas cards. I'll post a picture when they're finished.
Friday, November 28, 2014
AEDM #28
Here is something I've been working on for a bulletin board at my church. Every one that attends Sunday School will put their name on a hand and they will go on the bulletin board in a Christmas tree shape (with fingers pointing down). I'll probably post a picture of the completed board on Sunday.
Thursday, November 27, 2014
AEDM # 27
Happy Thanksgiving! Today for Art Every Day Month, my nephew and I made this Christmas ornament together. We also made a couple for him to take home.
Wednesday, November 26, 2014
AEDM #26
Today I put together some kits I got at the Dollar Tree. I'm still not feeling well so this is the most creative I can be today. The tree and gingerbread man are felt and the penguin is foam.
Tuesday, November 25, 2014
AEDM # 25
I'm a bit under the weather, so I'm cheating a bit for today's Art Every Day Month post. I did this art journal background a while back.
Monday, November 24, 2014
Sunday, November 23, 2014
Saturday, November 22, 2014
AEDM #22
Today's art is a wreath. It's from a kit I bought. I can't seem to pass up craft kits that are on clearance.
Friday, November 21, 2014
AEDM #21
Day 21 of Art Every Day Month! Here is today's art: it's this week's Documented Life Project. The prompt was to add a map. The background is a layer of torn up map pages, covered with gesso, and sprinkled with spray ink. The card on the right is from ICAD (Index Card a Day) a few years ago. It's a map with marks in all the cities I've lived in over the years. I thought it fit well with the prompt.
Thursday, November 20, 2014
AEDM #20
I had a crazy busy day today. The only art I managed was a doodle on a styrofoam cup at my church's Thanksgiving dinner tonight. Unfortunately, I turned around and someone had thrown it away. So instead, here is a picture of a paper wreath I started last week. It's made on a cardboard wreath shape, covered in green paper, and it has 60 or 70 circles that are folded (in a way that's hard to describe), to make it fluffy looking. It's not quite done. I intend to add a red paper bow when I get around to it. Who knows when that will be!
Wednesday, November 19, 2014
AEDM #19
For day 19 of Art Every Day Month, I've made a Rudolph head. It's a flat Christmas decoration to hang on the wall. To be honest, I'm not sure what I'm going to do with it, but I think it's cute. It's not a great picture, but the head is gold and the nose is very sparkly.
Tuesday, November 18, 2014
AEDM #18
For today, I have a variety of Rainbow Loom charms that I've made.They weren't all made today, but I haven't posted any of them before.
Clockwise from top left: treble clef, cherries, butterfly, Mickey Mouse, wreath, candy cane, and a turtle in the middle.
Monday, November 17, 2014
AEDM #17
I guess you could consider this a Christmas card, or at least a card front. That's not exactly why I made it - I do some "behind the scenes" volunteer work at Christmas in a room with plain boring walls. Several years ago I started making little Christmas art to hang up. Some of them (like this one) are just free printables that are printed at 1/4 size. I glued this one to a red background and went crazy with the metallic gel pens. The printable I used can be found here.
Sunday, November 16, 2014
AEDM #16
Day 16 of Art Every Day Month! Today I've made an Artist Trading Card. It's not my favorite thing I've every made, but oh well!
Subscribe to:
Posts (Atom)